To create Self-Signed Certificate using IIS follow below steps.
Navigate to IIS

Select Server Certificate

Click on “Create Self-Signed Certificate” link

Enter the details as shown below.

Click on OK.
Do IISRESET

Now Certificate will be available in Server Certificates.
You can check by editing any existing binding

Save Certificate :
Double click on the Certificate in IIS.


Click on Details tab and click on Copy to File.

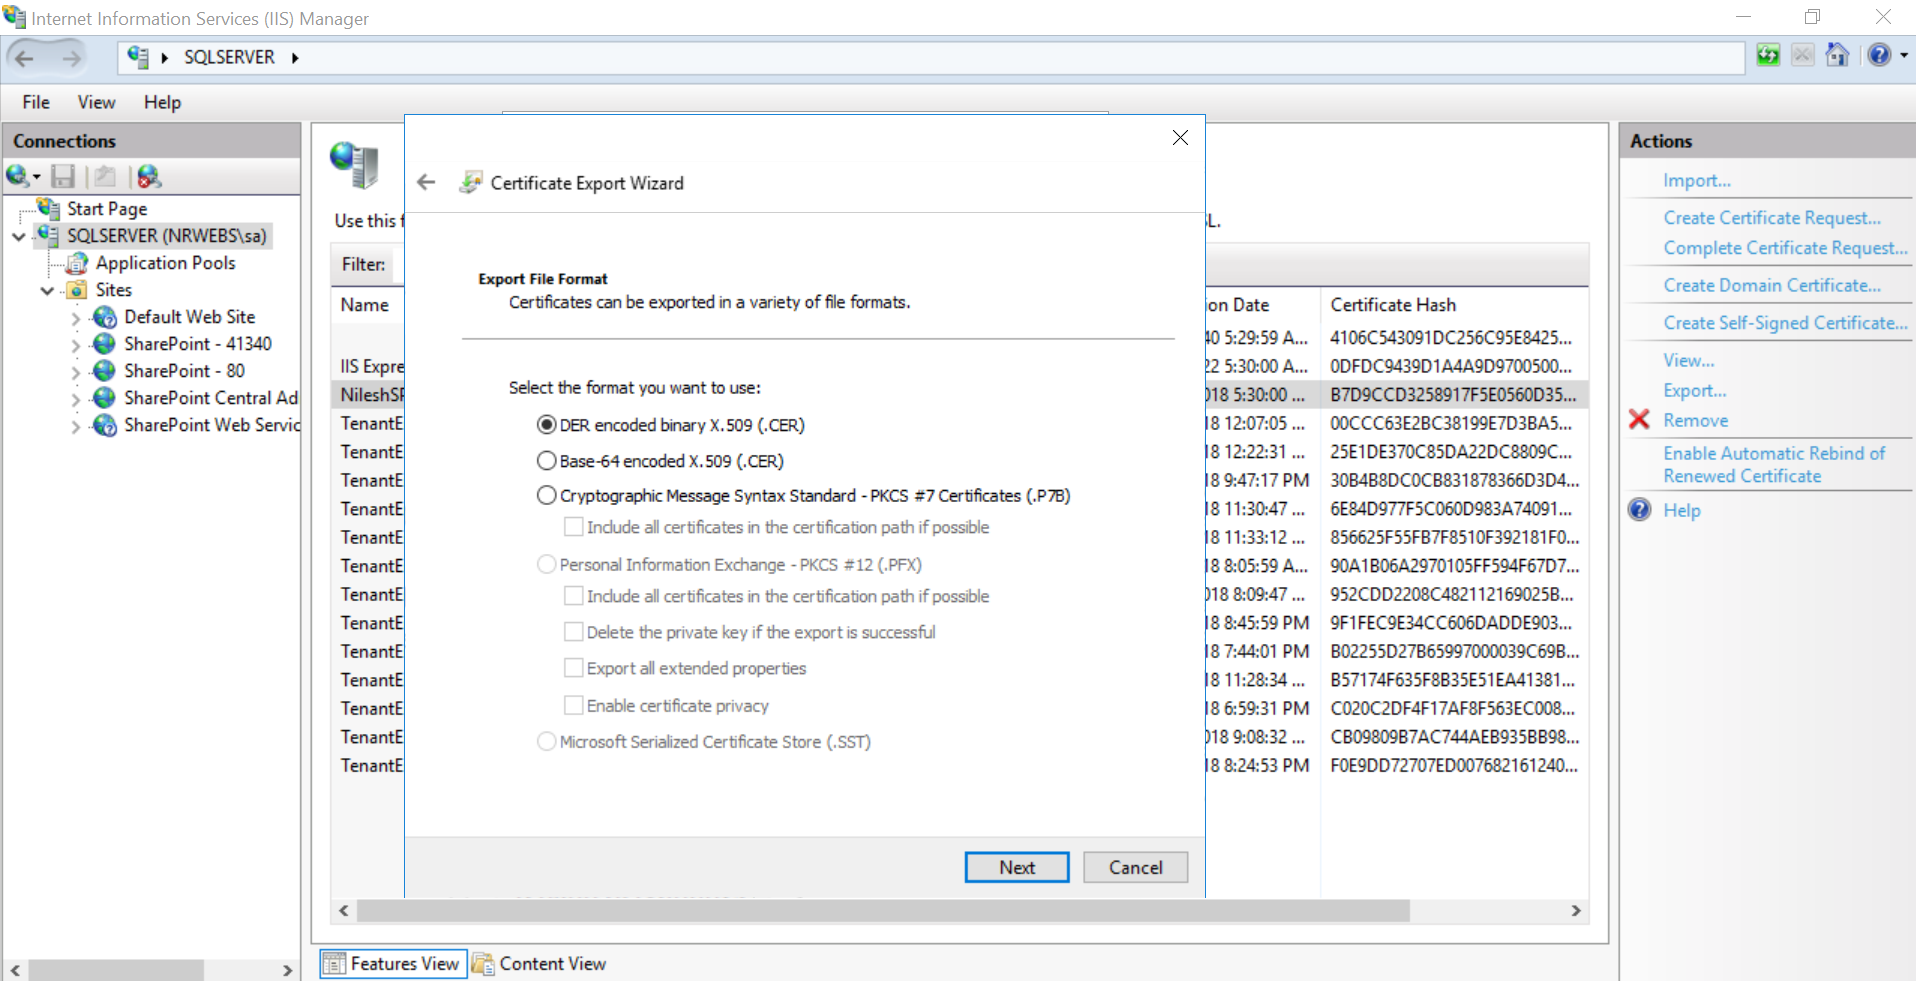
Now Certificate Export Wizard will available.

Click Next

Click Next Give Certificate Name.

Click Next
Click Finish

It will display message “The export was successful.”

Export Certificate in Personal Exchange Format (.pfx)
Navigate to IIS

Select the Certificate which you want to export.
Click on Export

Give Certificate Export Location and Certificate Name
Enter Password and Confirm Password.
Click on OK.
It will Export Certificate in PFX format.
