Scenario: Client needs to upload files on daily basis as timer job to particular location (here Azure File Share). File contains auto generated name and individual content for each file. Below code includes example to create and upload file on Azure File Share and also Creation and configuration of Azure WebJob to achieve requirement.
Steps :
- Create Console Application
- Configure Azure File Share Location
- Create or Configure Azure WebJob
- Deployment Of Console Application as Web Job
- Run Web Job and outcome of the application
Create New Project using Visual Studio
Select Console Application

Give your desired project name and location
It will create Console Application
Next Step is to add Azure Cloud Reference Files which is required to call Azure Objects in Code
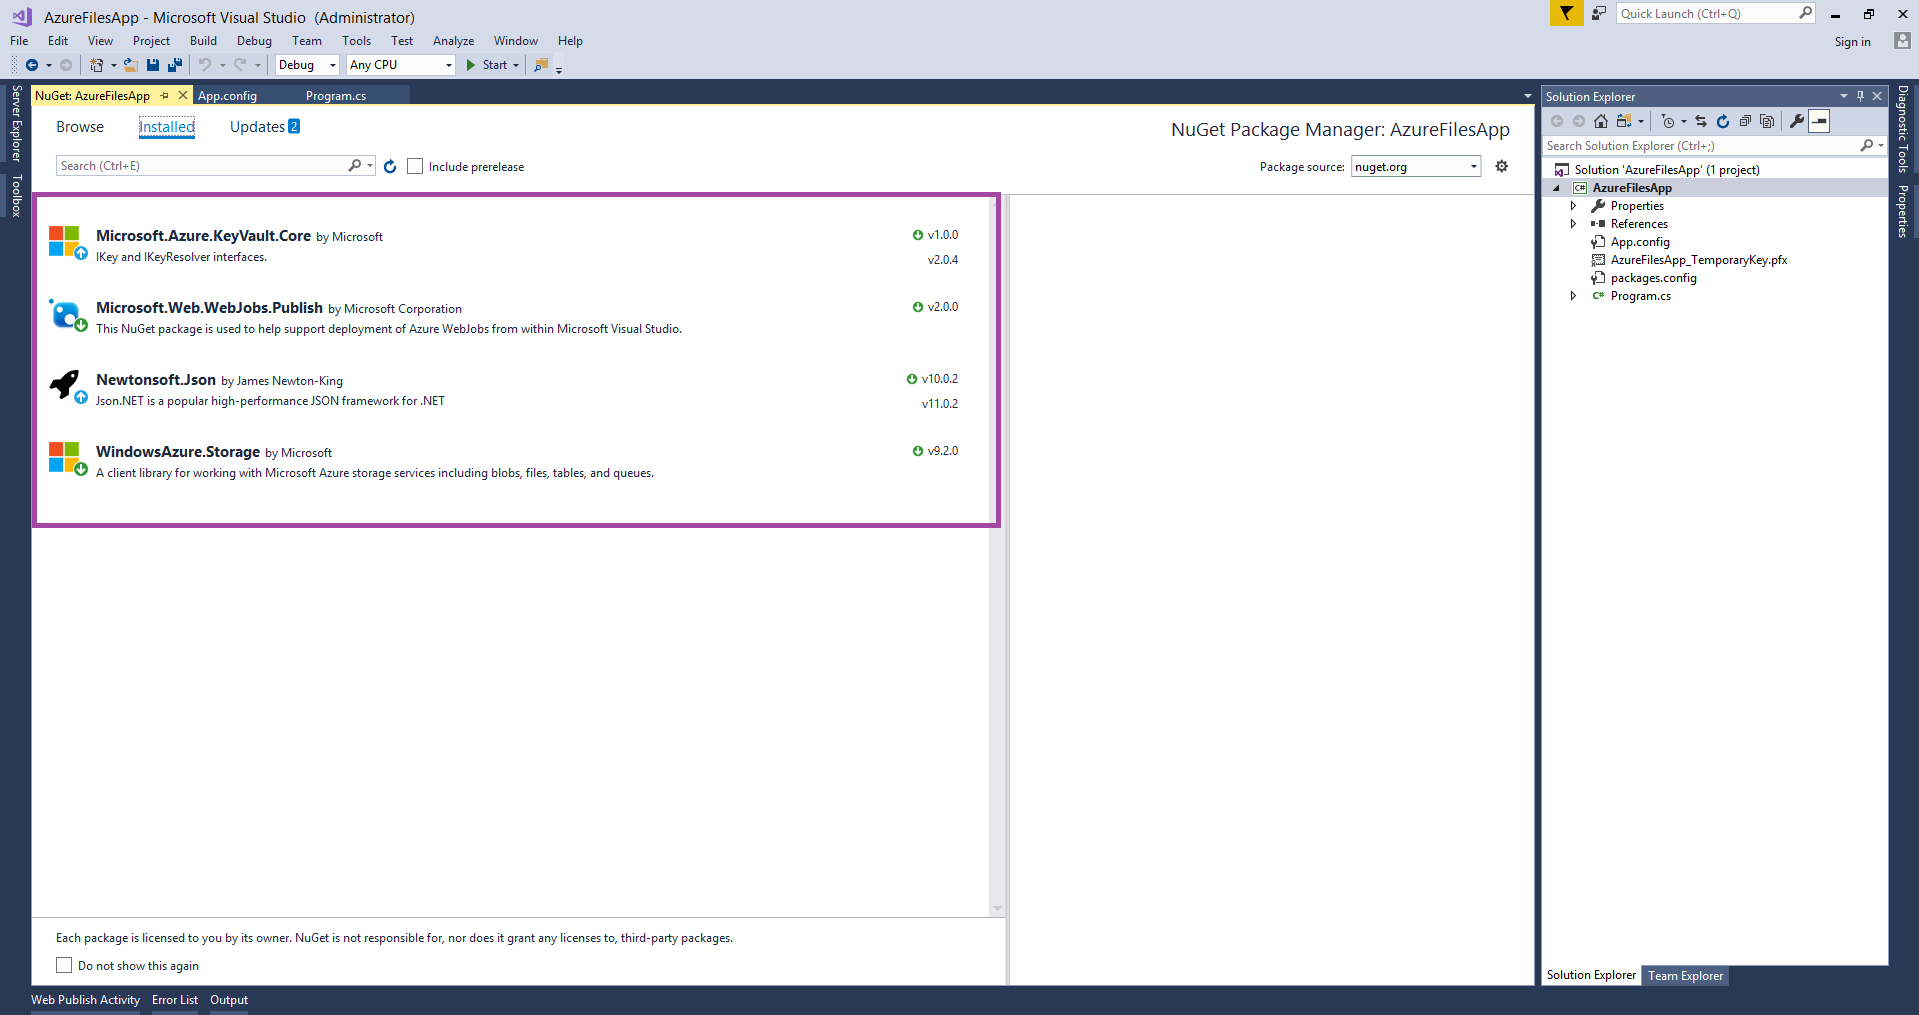
Right Click on Project and Select Manage NuGet Packages

Installed Packages as shown in below image

Once above packages installed in application, you can see References in Solution Explorer as below

Add below code which Creates Azure File Object and Upload File on mentioned location
using Microsoft.WindowsAzure.Storage;
using System;
using System.Configuration;
using System.IO;
using System.Text;

namespace AzureFilesApp
{
    class Program
    {
        static void Main(string[] args)
        {
            string strConnectionSting = ConfigurationManager.ConnectionStrings["AzureStorageAccount"].ConnectionString;

            Console.WriteLine(@"Connecting to Azure Storage Account");

            CloudStorageAccount sa = CloudStorageAccount.Parse(strConnectionSting);

            Console.WriteLine(@"Connected To Azure Storage Account");

            Console.WriteLine(@"Cheking Cloud Storage File Location");

            //Create Azure File Share
            //this wull create File Service 'myfilesonazure' on Azure
            var share = sa.CreateCloudFileClient().GetShareReference("myfilesonazure");
            share.CreateIfNotExists();

            Console.WriteLine(@"Cloud Location Found On Azure");
            Console.WriteLine(@"Preparing Content For File");

            //Create Dyamicn File Name and File Content.
            //Dynamic Content form Database or other Service will be availalbe here
            string TempFileName = DateTime.Now.Second.ToString() + ".html";
            string content = @"<!DOCTYPE html><html><body><h2>HTML Forms</h2><form action='/action_page.php'>  First name:<br>  <input type='text' name='firstname' value='Nilesh'>  <br>  Last name:<br><input type='text' name='lastname' value='Rathod'><br><br>  <input type='submit' value='Submit'></form></body></html>";

            Console.WriteLine(@"File Content Completed");

            Console.WriteLine(@"Adding File On Cloud Location");

            //Create File in Root Folder and Upload its Content
            var rootDir = share.GetRootDirectoryReference();
            var fileToCreate = rootDir.GetFileReference(TempFileName);
            fileToCreate.UploadText(content);

            Console.WriteLine(@"File Successfully Uploaded On Cloud Location");

        }

    }
}
Here console application is ready .Note that ‘AzureStorageAccount’ variable is connection string which is used in App.Config file which is connection string to your Azure Application
Code For App.Config File is as below

You can get your connection string from Azure Application
Navigate to Your Application and Select Access Key. It will display Connection String in another panel.

Once Console Application is ready you can run it and check its functionality to make sure that it is working with Azure File Share and provided Azure configuration.
If it works fine then next task is to schedule this console application as timer job or Web Job.
Meaning this Console Application needs to call on specific interval to generate file.
In this demo we are going to see 2 different scenarios to upload or publish solution on Azure.
1. Using Publishing Profile from Visual Studio
2. Manual Configuration of Web Job
Using Publishing Profile from Visual Studio
Using Visual Studio we can publish our console app as WebJob. It requires Publishing Profile of Azure to be downloaded and add into Visual Studio Publish Option.
To download Publishing Profile from Azure -> Navigate to your application and click on Get publish profile as shown in below Image.

Once you click on Get publish profile it will download Azure PublishSettings profile for Visual Studio which helps us to deploy application.

Right Click on Project and Select Publish As Azure WebJob and import downloaded profile to Visual Studio.

Import profile will automatically fetch all required information for Azure and Visual Studio and it will publish application.
Import the profile and click on Next it will display web Deploy Information.

Now Visual Studio is going to publish application on Azure. You can see its information in Visual Studio Output Configuration.

Once application is deployed on Azure we can see it from Azure WebJobs

Select that WebJob and Click on Run

It will execute WebJob. You can also check its Status from Status Column of the webjob.

Click on WebJob and You can get more detail information for the service

Click on WebJob Name you can get WebJob Run Details

Once WebJob is completed we can see generated file on Azure File Share.
Navigate to Azure File Share

Click on myfilesonazure File Share
You can see generated file on Azure File Share as below

Now we will see another method to add file on Azure
Manual Publishing from Visual Studio

Navigate to AzureFilesApp\AzureFilesApp\bin\Release
Select All Files from release folder and create Zip File of all files.

Navigate to WebJobs Click on Add. It will open popup as shown below.

Provide Name of Webjobs.In File Upload you need to select ZIP file which we created from release folder. Select WebJob Type . For Scheduled Trigger you need to provide CRON Expression.
For example below syntax is used for 2 min WebJob Time. Hence WebJob will trigger on every 2min
0 */2 * * * *
You can also Map your Azure File Share to your Local PC by running below script.
net use I: \\eradarsacronjob.file.core.windows.net\myfile
sonazure /u:AZURE\mycronjob 7BX9SSHn5HK8urK9KqfBP1sOsEDWyb7wBN3zJu6TFYE1v2
EMedCYlKwzs+MyuZdPZtamI71TxlKp/bIkCmDflg==

Mapped Folder will be available in your PC as shown below Image

From Mapped Folder you can easily upload or delete file to Azure File Share.